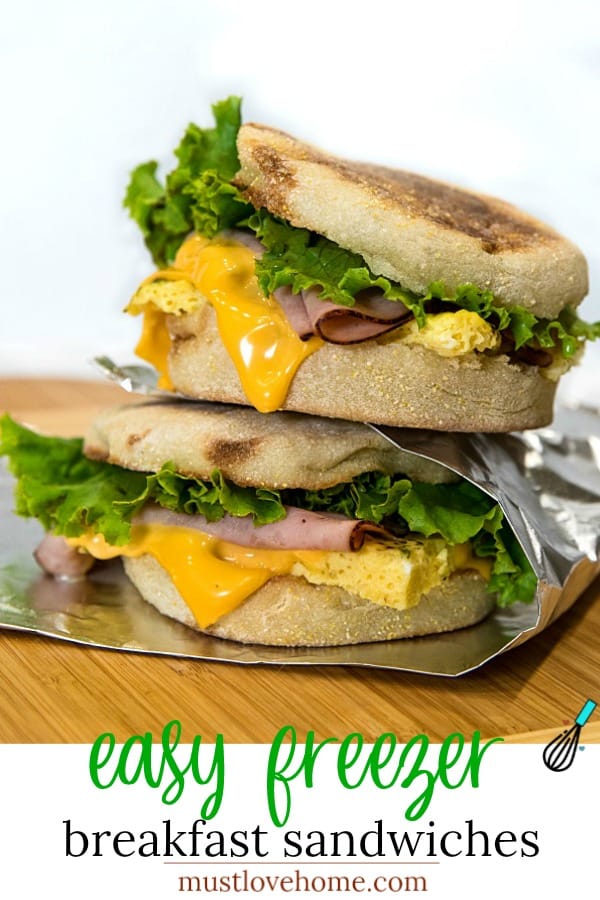
Easy make ahead freezer breakfast sandwiches are ready for a start the day meal on-the-go. Prep a batch with herb seasoned eggs, ham and sliced cheese in under 25 minutes!
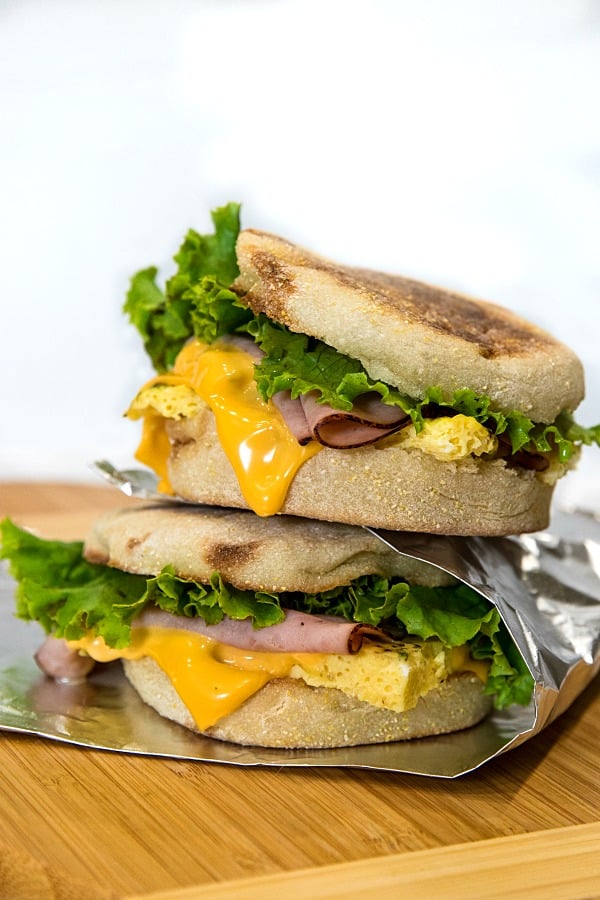
If you’re into freezer meals like I am, you know what a time saver they are. Freezer meals usually bring to mind dinner, but they are amazing for breakfast too!
Imagine having a freezer full of Easy Freezer Breakfast Sandwiches to grab-and-go. They are perfect for heat and eat or for warming up once you get to the office. Either way, you are set for a protein packed breakfast.
I got the idea to make the eggs in a rimmed sheet pan after cooking the beef patties for easy bacon cheeseburger sliders using the same method! Give it a try to see how simple it is.
HOW TO MAKE EASY FREEZER BREAKFAST SANDWICHES
Really folks, these English muffin breakfast sandwiches could not be easier to make. The eggs are baked into a sheet, then easily cut in pieces for each muffin!
- Preheat oven to 375 degrees F. Line a rimmed baking sheet (or 9 x 13 baking pan) with foil, leaving some overhang to use as handles. Spray liberally with non-stick cooking spray.
- Whisk together the eggs, milk, mustard, chives, parsley, salt and pepper in a medium mixing bowl.
- Pour the egg mixture onto the baking sheet or pan and carefully transfer to the oven. Bake for 10 – 12 minutes until the egg mixture is set.
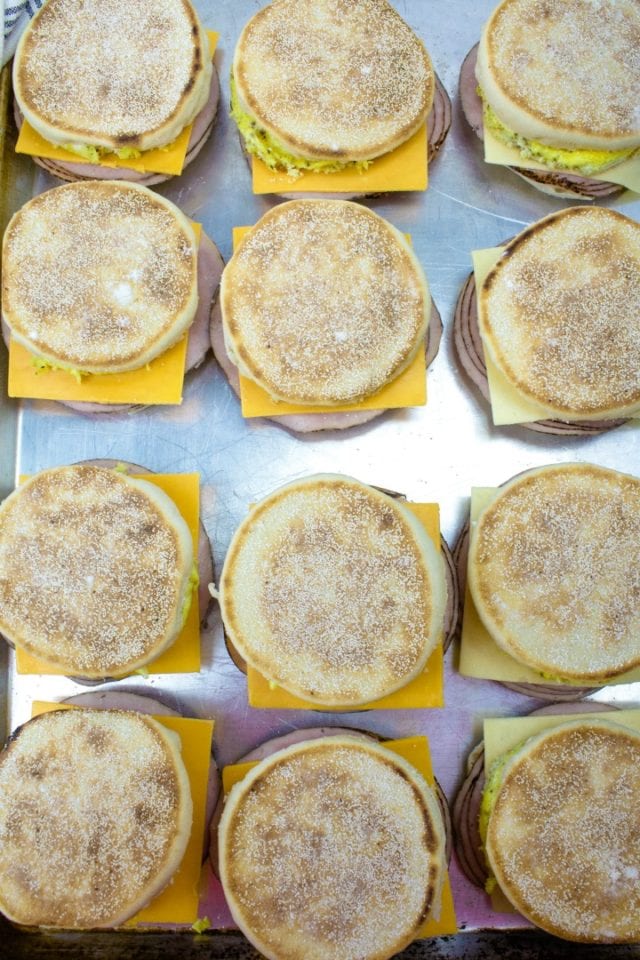
- Cool slightly and use the foil handles to remove the baked eggs to a hard surface. Use a pizza cutter or sharp knife to cut the eggs into 6 rectangles and lay pieces between English muffins with ham and cheese.
- Slide each one into a wax paper sandwich bag.
- Be sure to let the sandwiches completely cool before freezing.
?If you want to get fancy, you can spread each muffin with butter. I like to leave them plain so everyone can make them to their own liking.
?Alternate Egg Cooking Method:
If you want to cook the eggs separately and have nice round egg portions for the muffins, you can bake the eggs in ramekins, a muffin tin (no paper liners) or silicone cups.
- Crack your eggs into a muffin tin or ramekins , add a tablespoon of milk to each and divide spices evenly between the ramekins. Use a mini whisk or fork to mix egg mixture in each ramekin. Slide on a baking sheet into the oven.
- While the eggs are cooking, toast the muffins and pile on the ham and cheese.
- When done in the oven, scoop the eggs onto the muffins and replace the tops.

HOW TO FREEZE HOMEMADE BREAKFAST SANDWICHES
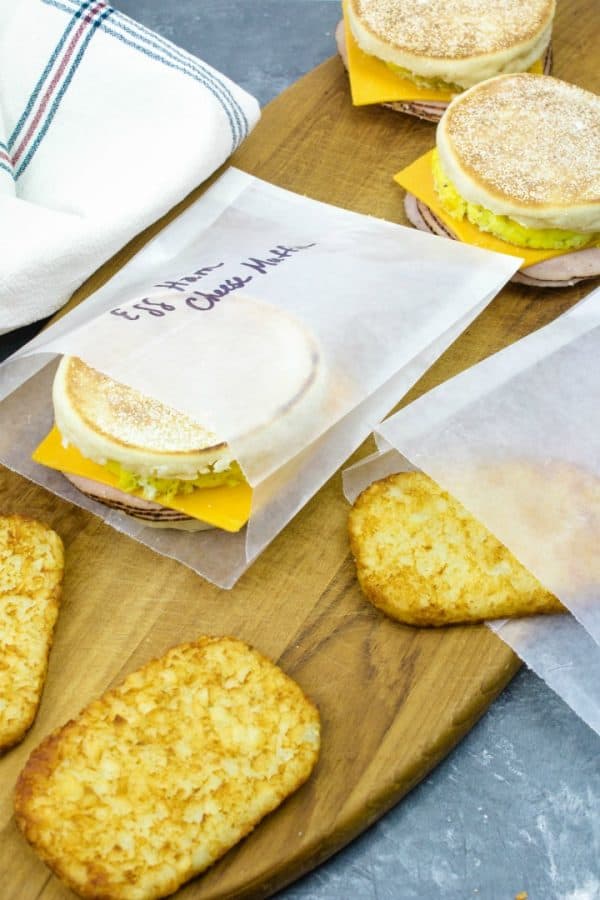
When prepping breakfast sandwiches for your freezer, it’s important to wrap each one up individually. Not only does that make it simple to grab one on the way out the door, but it also ensures that they don’t stick together while freezing and may help to prevent freezer burn.
Allow the cooked sandwiches to cool, then slip the individually wrapped sandwiches ( in wax paper bags) into a large plastic freezer bag. Get out as much of the air as you can, label and seal. Freeze for up to 3 months.
HOW TO RE-HEAT FROZEN BREAKFAST SANDWICHES
To easily re-heat your frozen breakfast sandwich in a jiffy:
- Remove wrapping and place sandwich on a microwave safe plate.
- Heat on full power for 1 to 1-1/2 minutes until cheese is melted and egg is warmed thru.
OR
- Preheat a conventional or toaster oven to 350°F.
- Open the top of sandwich and place both sandwich pieces on a small baking pan in the oven.
- Heat for about 10 – 15 minutes, until the cheese is melted, the egg and ham are warmed thru and the English muffin is lightly toasted.
?Tip: You may want to remove the top half of the sandwich early to prevent burning.
**At our house, we usually just open the end of the wax paper bag and set the sandwich right in the microwave for 1 minute on full power. The open end of the bag lets the steam escape so the bread doesn’t get wet.
BEST BREAKFAST SANDWICH FILLINGS
There are an unlimited amount of variations for these tasty breakfast sandwiches. You can use biscuits instead of English muffins, turkey slices or sausage instead of ham, and a virtually infinite variety of cheeses. Spread each with Dijon mayonnaise, ranch dressing or just butter to add even more flavor!
If you love breakfast sandwiches, you might want to try this Cheesy Egg Sandwich with Smoked Scallion Sauce or a favorite here in Ohio, the Buckeye Breakfast Sandwich.
Tools Used To Make Freezer Breakfast Sandwiches:
- Ramekins – use to bake individual eggs rounds for each sandwich.
- Wax Paper Sandwich Bags – makes individual sandwich wrapping a breeze and reduces plastic use.
- Two Gallon Freezer Storage Bags – great for freezing batches of your breakfast sandwiches.
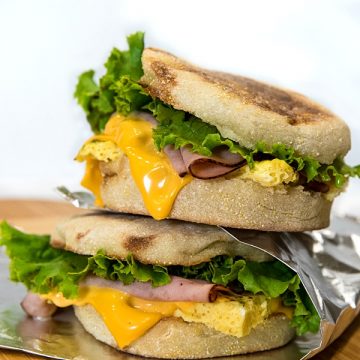
Easy Freezer Breakfast Sandwiches
Ingredients
- 6 English muffins split and toasted
- 8 large eggs
- 1/3 cup milk whole or 2%
- 1 tsp whole grain mustard
- 1 tbsp dried chives
- 1 tsp dried parsley flakes
- 1/2 tsp salt
- 1/2 tsp ground black pepper
- 1/2 pound sliced Black Forest ham sliced thin
- 6 slices American or cheddar cheese
- 6 green leaf lettuce leaves optional
Instructions
- Preheat oven to 375°F . Line a rimmed baking sheet (or 9 x 13 baking pan) with foil, leaving some overhang to use as handles. Spray liberally with non-stick cooking spray.
- Whisk together the eggs, milk, mustard, chives, parsley, salt and pepper in a medium mixing bowl.
- Pour the egg mixture onto the baking sheet or pan and carefully transfer to the oven. Bake for 10 – 12 minutes or until the egg mixture is set.
- Cool slightly and use the foil handles to remove the baked eggs to a hard surface. Use a pizza cutter or sharp knife to cut the eggs into 6 rectangles and lay pieces between English muffins with ham and cheese. Allow sandwiches to cool completely.
- Slide each sandwich into a labeled wax paper sandwich bag, Fold over bag opening to seal. Place wrapped sandwiches into a large plastic freezer bag or container. Freeze up to 3 months. Top with a lettuce leaf before serving.
Chef Tips
Equipment Used
Nutrition Facts
© Copyright Christine Mello for Must Love Home. We would love for you to share a link to this recipe but please do not copy/paste the recipe instructions to websites or social media. We are happy for you to share a photo with a link back to this website instead.
Post, recipe and some photos updated September 2020

